https://cookiesncrepes.com (Cookies N’ Crepes), a leader in the food blogging space, has acquired The Devil’s Food Advocate (thedevilsfoodadvocate.com). The official acquisition date is 31st Mar 2023.
About The Devil’s Food Advocate
The Devil’s Food Advocate is an up-and-coming food blog dedicated to sharing recipes and stories that celebrate the devilish side of food. Founded by foodie and creative writer, Donna Pelech, The Devil’s Food Advocate has quickly become a popular destination for those seeking recipes and stories that explore the dark side of food. The blog is a platform for exploring the unconventional and daring delicacies that lie in the shadows of mainstream culinary culture. With the acquisition of The Devil’s Food Advocate, Cookies N Crepes will be able to provide even more interesting and unique recipes and stories to its audience.
The Devil’s Food Advocate was features in several top food websites including:
Womanshealthmag.com
Seriouseats.com
Foodandwine.com
Thekitchn.com
Bonappetit.com
About Cookies N Crepes
At Cookies N Crepes, we have been providing delicious recipes for baking cookies and crepes since August 2010. All content is carefully tested and approved by experienced chefs and cooking professionals.
In 2022, we broadened our scope to include creating recipes and exploring more advanced topics, such as ingredient substitution. This new endeavor is a continuation of that effort.
Cookies Recipes:
Trending Recipes:
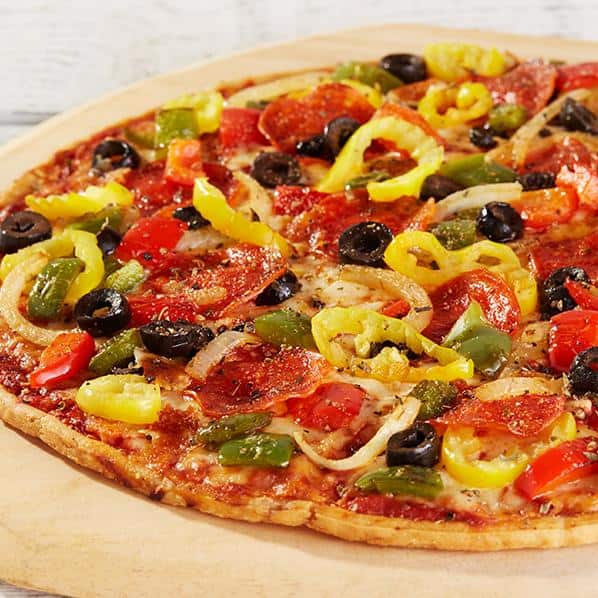
Delicious Red & Yellow Peppered Pita Pizzas Recipe
Baking Tips:
We offer a variety of articles to satisfy your baking needs. From basic recipes to more complex topics, Cookies N Crepes has you covered. Follow this link to know more about us.